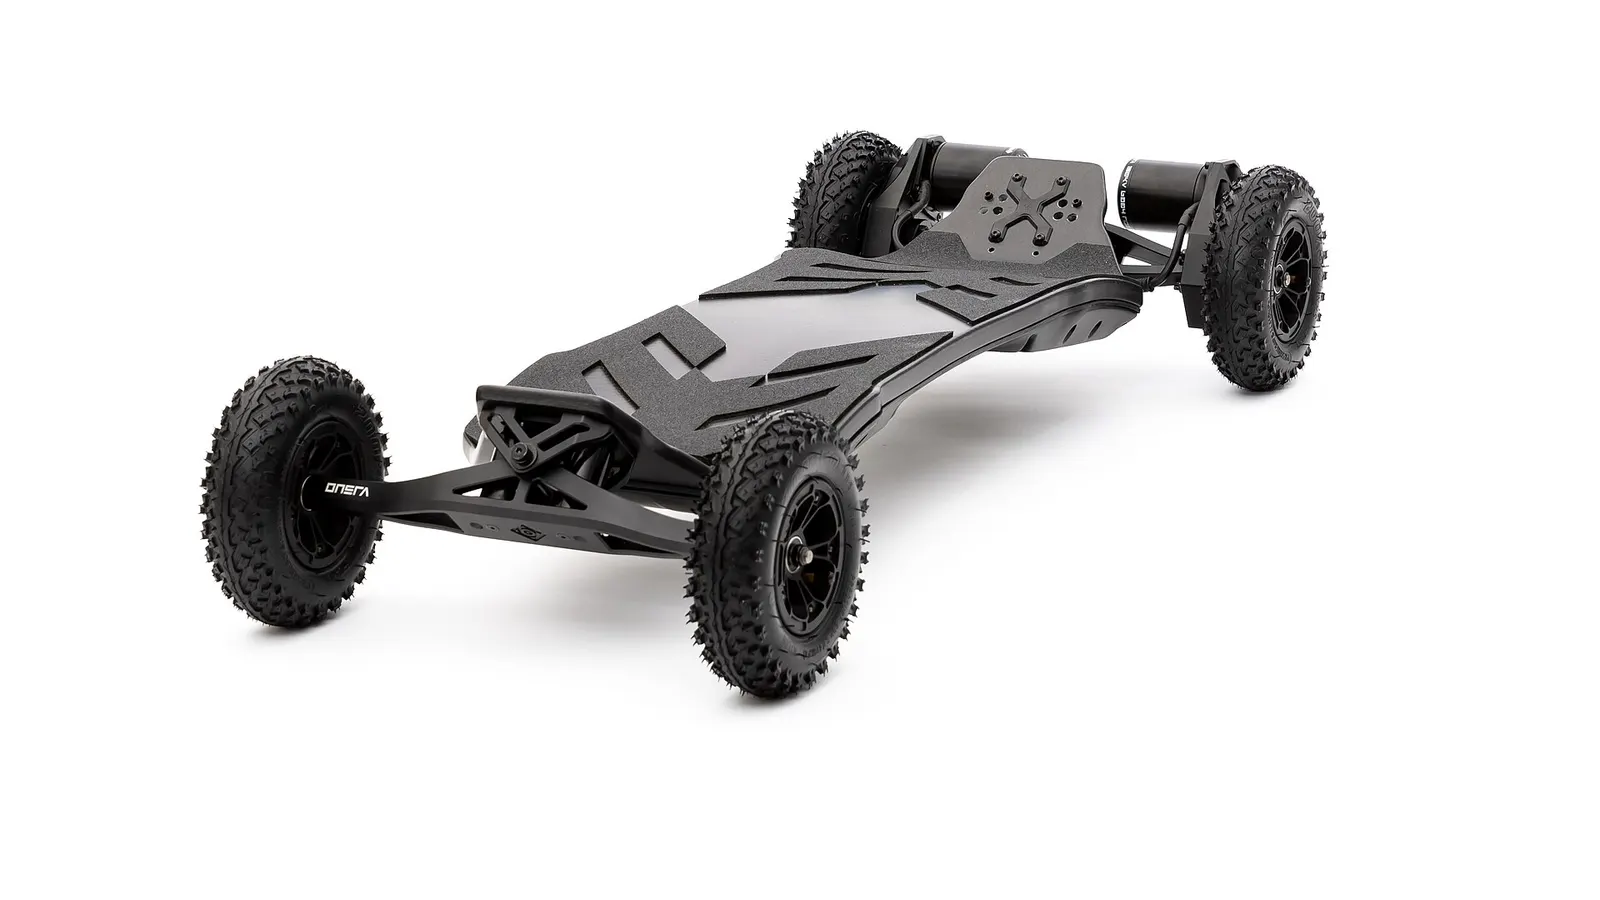
Regenerative braking, foot braking, slide stops, and speed wobbles — how to stop safely on an electric skateboard.
Braking on an electric skateboard is fundamentally different from braking on a bicycle or scooter. There are no brake levers, no disc calipers, and no mechanical system you can grab in a panic. Your braking options are the remote control, your body, and the ground. Understanding each one could save you from serious injury.
How Regenerative Braking Works
Most electric skateboards use regenerative braking as their primary stopping method. When you pull the brake trigger on the remote, the motors reverse their function, acting as generators. This creates resistance that slows the board while feeding energy back into the battery.
The physics. Regenerative braking converts your kinetic energy into electrical energy stored in the battery. This means braking power depends partly on how much charge the battery can accept. A fully charged battery cannot absorb more energy, which weakens or disables regenerative braking. This is a critical safety concern.
Never start a downhill ride on a full battery. If you are riding down a long hill and need to brake, a full battery may not accept the regenerative energy. Some boards will warn you; others will simply reduce braking force without notice. Charge to around 80 percent before rides that start with a descent.
Braking force. Regenerative braking provides moderate stopping power. It will slow you from cruising speed over a reasonable distance, but it will not give you the instant stopping power of a disc brake on a bicycle. Plan your braking distances accordingly, especially in traffic or near intersections.
Progressive application. Always apply regenerative brakes progressively. Slamming the brake trigger at high speed can lock the wheels or throw you forward. Start gentle and increase braking force steadily.
Foot Braking
Foot braking is the oldest technique in skateboarding and remains essential for electric skateboard riders.
How to foot brake. Shift your weight to your front foot, lower your back foot to the ground, and drag the sole of your shoe along the surface. Start with light pressure and increase as needed.
When to use it. Foot braking works as a backup when your remote loses connection, when your battery is dead, or when you need to supplement regenerative braking. It is also useful for minor speed adjustments without reaching for the remote trigger.
Shoe wear. Foot braking destroys shoes quickly. The sole of your braking shoe will wear through in weeks if you rely on this technique. Some riders designate specific shoes for skating, or use shoes with thicker, more durable soles.
Limitations. Foot braking becomes difficult and dangerous above about 25 km/h. At higher speeds, the vibration and force on your foot are extreme. If you are travelling fast, regenerative braking should be your first option.
Practice. Foot braking feels awkward at first because you must balance on one foot while the board is moving. Practice at low speeds until it becomes instinctive.
Slide Stopping
Slide stopping is an advanced technique borrowed from downhill longboarding. It involves deliberately breaking traction on the rear wheels to scrub speed.
Coleman slide. The most common slide stop involves placing one hand on the ground (wearing slide gloves with pucks) while pushing the board sideways with your back foot. This is effective but requires practice and confidence.
Stand-up slide. A more advanced technique where you initiate a slide without putting your hand down. This requires strong board control and is not recommended until you are very comfortable on your board.
When slides make sense. Slide stopping is most useful in emergency situations at moderate speed, or when riding steep hills where regenerative braking alone is insufficient. It is not a practical everyday braking method.
Limitations on electric boards. Many electric skateboards have hub motors built into the rear wheels. Sliding on hub motor wheels can damage the motors. Belt-drive boards are more slide-friendly because the wheels are separate from the motors, but sliding still wears wheels rapidly. Check your board manufacturer's guidance before practising slides.
Carving to Scrub Speed
Carving wide S-turns is a gentle way to reduce speed on hills and open terrain. Each turn converts some of your forward momentum into lateral movement, gradually slowing you down.
This is not a substitute for braking in an emergency, but it is effective for managing speed on gradual descents. It is also less fatiguing than holding the brake trigger for an extended period.
The Bail and Run
Sometimes the safest option is to step off the board and run it out. This is not a failure; it is a legitimate safety technique.
How to bail safely. Step forward off the board with your front foot, then your back foot, and run in the direction you were travelling. The key is to match your running speed to your riding speed, which means this only works at lower speeds, roughly under 15 to 20 km/h depending on your fitness.
When to bail. Bail when you feel speed wobbles starting, when an obstacle appears that you cannot avoid, or when the board malfunctions. Committing to a controlled bail early is far better than hanging on and crashing at higher speed.
Let the board go. Do not try to catch or control the board while bailing. Your priority is your own balance. The board will eventually stop on its own. If you are worried about it rolling into traffic, ride in areas where this is not a risk while you are learning.
Braking in Wet Conditions
Wet roads and paths dramatically reduce braking effectiveness on an electric skateboard.
Reduced traction. Hard urethane wheels on wet surfaces have very little grip. Braking forces that would slow you smoothly on dry ground can lock the wheels and cause a slide on wet surfaces. Reduce your speed significantly in wet conditions and brake much earlier and more gently.
Water and electronics. Most electric skateboards are not waterproof. Riding in wet conditions risks water damage to the battery, ESC, and motors. Beyond the braking issue, wet riding is generally best avoided.
Painted road markings and metal surfaces. White lines, pedestrian crossing paint, and metal drain covers become extremely slippery when wet. Avoid braking or turning on these surfaces.
Braking on Hills
Hills are where braking skills are tested most seriously. Australian cities, particularly Sydney, Melbourne, and Brisbane, have suburbs with serious gradients.
Descending. Use regenerative braking to control your speed on the way down. Apply brakes intermittently rather than holding them continuously, which can overheat motors on long descents. Carve to supplement braking if the road is wide enough.
Know the hill before you ride it. Walk or scout any steep hill before riding it. Check for cross streets, parked cars pulling out, pedestrians, and surface conditions. A hill that looks manageable from the top can surprise you with a steep section partway down.
Bail points. Identify spots where you could safely run off the board if your braking is insufficient. Grassy verges, side streets, and flat sections are all potential bail points.
Safety Gear for Braking Situations
Slide gloves. If you plan to learn slide stops, slide gloves with replaceable pucks are essential. They protect your palms and allow you to put your hand down for balance during slides.
Helmet. A fall during a failed braking attempt often results in hitting the back of your head. A properly fitted helmet is your most important piece of safety equipment.
Knee and elbow pads. When you lose braking control and fall, knees and elbows take the impact. Hard-shell pads with foam backing provide the best protection.
Building Braking Confidence
Start slow. Practice all braking techniques at walking speed before trying them at riding speed. This lets you learn the feel of each method without the consequences of a high-speed mistake.
Practice in a safe area. An empty car park or quiet park path is ideal. You need space to brake without worrying about traffic, pedestrians, or obstacles.
Learn your stopping distances. At various speeds, practise braking to a complete stop and note how far it takes. This builds an intuitive sense of how much space you need, which is critical for riding in traffic.
Combine techniques. In practice, effective braking often uses multiple techniques simultaneously. Regenerative braking through the remote plus carving, or regenerative braking plus light foot braking, gives you more stopping power and control than any single method alone.
Braking is the most important skill on an electric skateboard. It is more important than top speed, range, or any trick. Invest the time to learn it properly before you need it.
Ready to Roll?
Explore street and all-terrain electric skateboards and longboards, plus spare belts, wheels and chargers.
Shop Electric Skateboards →