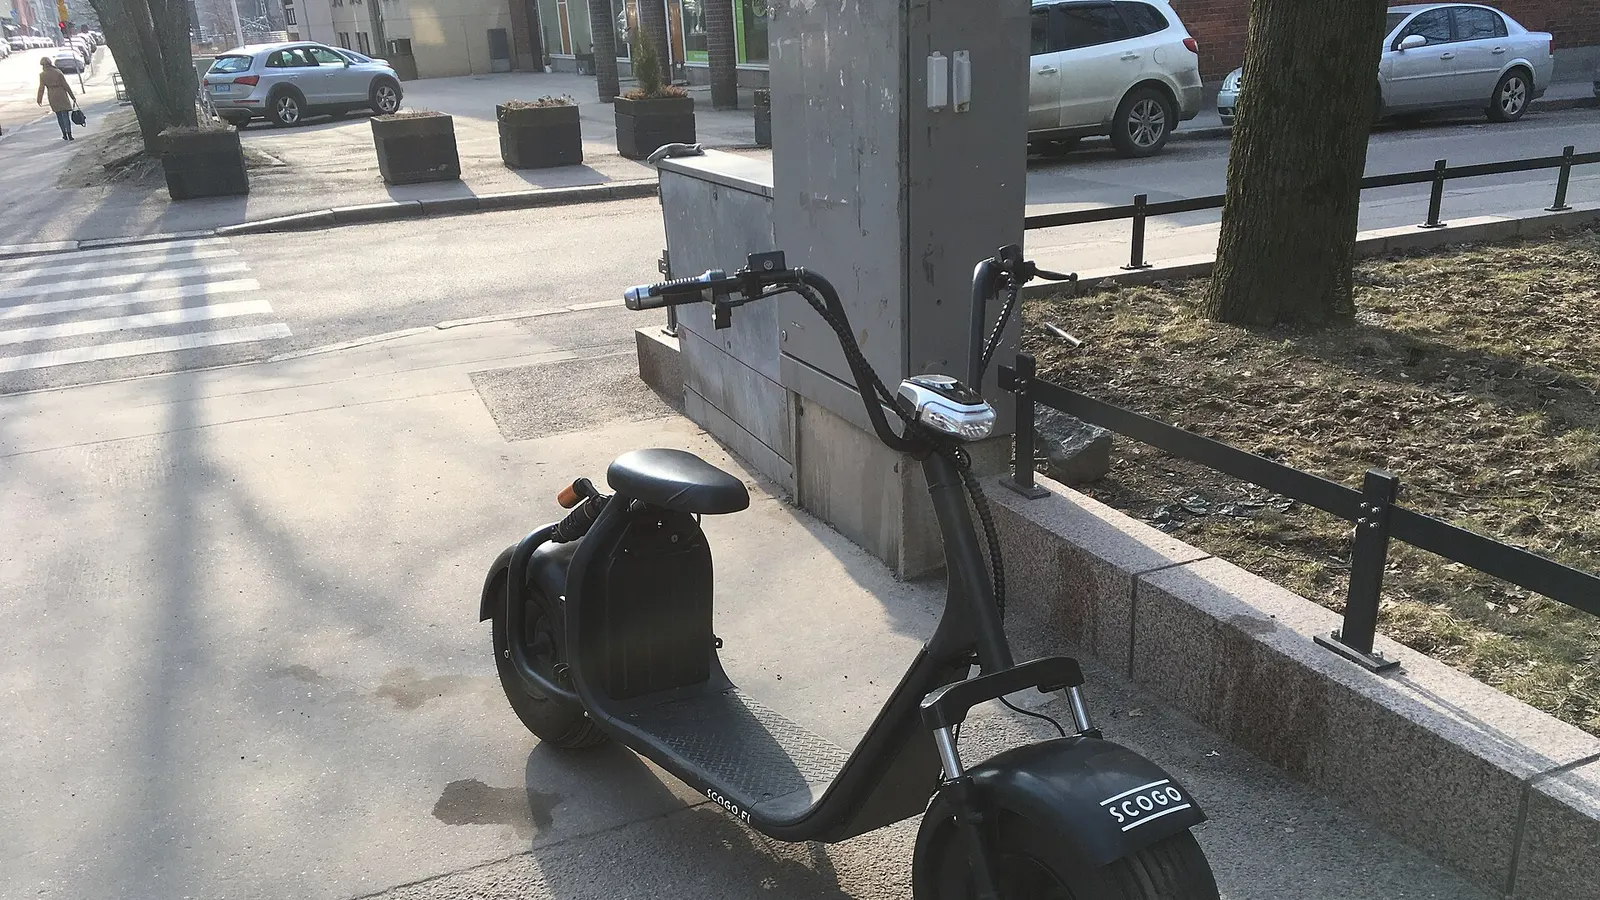
Keep your electric scooter in top condition — tyre pressure, brake adjustment, folding hinge care, firmware updates, and seasonal checks.
E-Scooter Maintenance: Tyres, Brakes, Folding Mechanisms, and Firmware Updates
An electric scooter is a machine with moving parts, electronics, and a battery that degrades over time. Regular maintenance keeps it safe, extends its lifespan, and prevents the kind of failures that leave you stranded halfway through your commute. This guide covers the key maintenance tasks every e-scooter owner in Australia should know.
Tyre Maintenance
Tyres are the single most important safety component on your scooter. They are your only contact with the road, and neglecting them leads to poor braking, reduced range, and dangerous blowouts.
Pneumatic (Air-Filled) Tyres
Check tyre pressure weekly. Most e-scooter tyres run between 40 and 55 PSI, but always follow the manufacturer's recommendation printed on the tyre sidewall. Under-inflated tyres increase rolling resistance (reducing range by up to 20 percent), wear unevenly, and are more prone to pinch flats.
A compact bike pump with a pressure gauge is the only tool you need. Schrader valves are most common on e-scooters, the same type found on car tyres.
Inspect tyres for embedded glass, thorns, or wire. Australian roads, especially in urban areas, are notorious for debris. A small piece of glass that does not puncture immediately can work its way through over several rides.
Replace tyres when the tread depth is visibly worn smooth or when you notice cracking in the sidewall. Most commuter tyres last 2,000 to 4,000 km depending on riding style, rider weight, and surface conditions.
Solid and Honeycomb Tyres
Solid tyres require less maintenance but are not maintenance-free. Check for flat spots, chunking (pieces breaking away), and cracks. Solid tyres wear faster than pneumatic tyres and provide less grip, especially on wet surfaces.
Replace solid tyres when they are visibly worn down or when ride comfort deteriorates noticeably. Fitting solid tyres can be more difficult than changing pneumatic tyres due to the tight fit required, so consider having a bike shop handle the swap if you lack experience.
Changing E-Scooter Tyres
Changing tyres on most e-scooters is harder than on a bicycle because of hub motors, disc brake rotors, and tight-fitting split rims. For rear hub motor wheels, you will need to disconnect the motor cable before removing the wheel.
Tools typically needed: Allen keys (4 mm, 5 mm, 6 mm), a 17 or 18 mm socket wrench, tyre levers, and patience. Watch a tutorial specific to your scooter model before attempting your first change. If in doubt, a local bike shop that services e-scooters can do the job for $20 to $50 per tyre.
Brake Maintenance
Brake failure at 25 km/h is no joke. Inspect and adjust your brakes monthly if you ride daily.
Disc Brakes (Mechanical)
Mechanical disc brakes use a cable to push brake pads against a rotor. Over time, the cable stretches and pads wear, reducing braking power.
Pad inspection: Remove the wheel and look at the pads. Most pads have a wear indicator groove. When the pad material is worn to or past this groove, replace them. Replacement pads cost $15 to $30 per pair and are straightforward to install.
Cable adjustment: If you need to pull the brake lever further than usual to stop, the cable likely needs tightening. Most scooters have a barrel adjuster on the brake lever or caliper. Turn it counter-clockwise in half-turn increments until the brakes engage within the first third of lever travel.
Rotor alignment: If brakes squeal or rub, the caliper may need realigning. Loosen the caliper mounting bolts, squeeze the brake lever to centre the caliper on the rotor, and retighten while holding the lever.
Disc Brakes (Hydraulic)
Hydraulic brakes are self-adjusting for pad wear, which is a significant advantage for commuters. However, they require occasional bleeding when the lever feels spongy. Bleeding hydraulic brakes involves replacing the fluid and removing air bubbles from the system. This is a task best left to a mechanic unless you have the tools and experience.
Check hydraulic fluid levels every few months. Top up with the fluid specified by your brake manufacturer (mineral oil or DOT fluid, depending on the brand; never mix them).
Drum Brakes
Some entry-level scooters use drum brakes on the rear wheel. These are low-maintenance but offer less stopping power than disc brakes. Adjustment is usually via a cable tensioner near the rear wheel. Replace the drum shoes if braking power drops significantly.
Electronic Brakes
Electronic (regenerative) brakes slow the scooter by using the motor as a generator. They have no wear parts but should never be your only braking method. If your scooter relies heavily on electronic braking, ensure the mechanical brake is always in good working order as a backup.
Folding Mechanism
The folding mechanism is a structural component that takes significant stress during riding. A loose or damaged folder can cause the stem to collapse while riding, which is extremely dangerous.
Weekly check: Grab the handlebars and try to rock the stem side to side and front to back. Any movement beyond a millimetre or two indicates a loose mechanism.
Tighten regularly: Most folding mechanisms use a clamp with a lever and a tightening bolt. Over time, the bolt needs tightening as materials settle. Use the appropriate Allen key to take up any slack, then test the lever engagement.
Lubricate the hinge: Apply a drop of dry PTFE lubricant to the hinge pin every month. Avoid wet or oily lubricants that attract dust and grit.
Inspect for cracks: Look closely at the area around the folding mechanism for hairline cracks in the metal, especially on aluminium stems. Cracking here is a sign of fatigue and means the stem needs replacing. Do not ride a scooter with a cracked stem.
Firmware Updates
Modern e-scooters run firmware that controls the motor, braking, lights, speed modes, and battery management. Manufacturers release updates to fix bugs, improve performance, and sometimes add features.
Check for updates monthly. Connect your scooter to the manufacturer's app via Bluetooth and look for firmware notifications. Most apps make updating a one-tap process.
Read the update notes before installing. Occasionally, firmware updates change speed settings or riding modes. If you have the scooter configured the way you like it, note your settings before updating.
Keep the battery charged during updates. A firmware update interrupted by a dead battery can brick the controller. Ensure you have at least 50 percent charge before starting an update.
Do not install third-party firmware to bypass speed limits. Beyond the legal issues (riding an e-scooter above your state's speed limit is an offence), modified firmware voids your warranty and can overload the motor, battery, or controller.
General Maintenance Schedule
Here is a practical maintenance schedule for daily commuter riders in Australian conditions:
Weekly
- Check tyre pressure (pneumatic tyres)
- Test brakes: firm lever, no squealing, scooter stops straight
- Check folding mechanism for play
- Wipe down the deck and stem to remove grit
Monthly
- Inspect brake pads for wear
- Lubricate folding mechanism hinge
- Check all visible bolts and fasteners for tightness
- Inspect tyres for embedded debris, cracks, or wear
- Check for firmware updates
- Clean and dry-lubricate the kickstand pivot
Every Three Months
- Deep clean the scooter: remove wheels if possible, clean brake rotors with isopropyl alcohol, clear debris from around the motor
- Inspect wiring and connectors for damage or corrosion
- Check the charging port cover for damage (a damaged cover lets water in)
Every Six Months
- Have brakes professionally inspected if you are not confident doing it yourself
- Check battery health through the manufacturer app (look for reduced capacity)
- Inspect the frame and deck for cracks, especially around mounting points
Tools to Keep on Hand
A basic e-scooter toolkit should include:
- Portable bike pump with pressure gauge
- Allen key set (3 mm to 8 mm)
- 17/18 mm socket or spanner
- Tyre levers (at least three)
- Spare inner tube (if using tubed pneumatic tyres)
- Dry PTFE lubricant
- Isopropyl alcohol and a clean rag
- Torx key set (some scooters use Torx fasteners)
Keep this kit at home, and carry a spare tube and a compact multi-tool on longer rides.
When to See a Professional
Some tasks are best left to a qualified mechanic: hydraulic brake bleeding, motor bearing replacement, battery diagnostics, and any electrical fault you cannot confidently diagnose. In Australia, many bicycle shops now service e-scooters, and specialist e-scooter repair shops are increasingly common in capital cities.
A professional service once or twice a year is a worthwhile investment that catches issues before they become safety hazards. Budget $50 to $150 for a full service depending on the work required.
Regular maintenance is not exciting, but it is the difference between a scooter that serves you reliably for years and one that becomes a safety risk within months. Spend twenty minutes a week on the basics, and your scooter will reward you with dependable daily transport.
Ready to Pick Your E-Scooter?
Compare commuter and long-range electric scooters, with accessories and spares, dispatched from Brunswick, Victoria.
Shop E-Scooters →